Sunday, April 6, 2014

Stevia Sweetened Chocolate's (Dairy Free, Soy Free, Sugar Free!)

The stores are bursting with chocolate bunnies and Easter candies right now! My kids are enamored by all of it and were really excited that we could make our very own Easter bunny candies! What a fantastic project to do with your kiddos, especially those who can't eat store bought chocolate. We made our chocolate extra dark and used a really cute chocolate mold I found at the craft store! There are lots of options right now you can pick up at your local crafting store, or if you want to order online, Here are some really cute ones!  


Stevia Sweetened Dark Chocolate 

Melt shortening in the microwave or in a double broiler. Add liquid stevia, then add cocoa powder and mix until completely smooth. If you want your chocolate thinner, add more melted shortening.  

*I chose to use shortening over coconut oil because I've found it to be more stable. If you prefer coconut oil, you may have to adjust amounts to get the right thickness. It's best to keep the chocolates in the freezer until the kids are ready to eat them because as they become room temperature they tend to be a little more delicate. 


Fancy Food Thoughts contains some contextual affiliate links which advertisers have agreed to pay a commission if a purchase is made from that click-through. Everything I recommend are products I use & love!

Saturday, April 5, 2014

Allergy Friendly Easter Bunny Cupcakes (Grain Free, Vegan, Refined Sugar Free!)

I anxiously waited for the sound of my little red kitchen timer to ding, letting me know that the cupcakes I had put into the oven 17 minutes prior were finished. That moment you open up the oven door and peek in to get the first glance of a new recipe is always daunting. I hardly ever peek earlier than the chime. I don't really know why, I guess I just like to look in when it's completely finished. That way I see it exactly as it will be. It makes me nervous to look in-between. This particular occasion when I saw the chocolatey cracking tops, I had a good feeling. The kind you get when you know you've nailed it but you don't want to pat yourself on the back prematurely. No counting my chickens here. But I knew. That day my mini chocolate cupcakes with peanut butter frosting were born.


With Easter coming up, I knew I wanted to make all my own treats and candies for my kids. We obviously are on a very restrictive diet, not to mention the food dye and additives in all of the store bought goodies!!! YIKES! I decided I better get to work figuring out what tasty treats we would be enjoying. My four year old daughter is absolutely obsessed with cupcakes. She watches cupcake tutorials on youtube and wants to have her own baking show. No surprise she had already been watching Easter cupcake tutorials these past few days. I literally consulted with her on what I should do. This is what we came up with. Allergy friendly, dye free, additive free (and really cute may I add) Easter bunny cupcakes.


I think they are cute even without their faces on!


They remind me of miffy. If you're a parent you will know what I'm talking about. Sweet little bunny.


My kids absolutely loved these. 


My sweet girl styled and shot this picture 100% by herself. I told her I would post it on the blog and she is ecstatic. Maybe this is the beginning of her job as a food stylist/cupcake genius. 


The cute little easter bunny ear cutouts can be found here! I taped skewers to the back of them because I didn't have any toothpicks! Obviously toothpicks would be ideal.

To assemble the cupcakes:
  1. Prepare and cool cupcakes, prepare frosting & chocolate.
  2. Frost the cupcakes, and dip them in unsweetened shredded coconut. 
  3. Place the bunny ears where you would like them.
  4. Pour the melted chocolate into a small ziplock or piping bag with a very small hole cut in the corner. Pipe on the eyes, nose, and whiskers. The smaller the hole, the finer the details will be. If your chocolate is too warm and runny, let it cool off a bit before using it. 
Enjoy!

Allergy Friendly Easter Bunny Cupcakes (Grain Free, Vegan, Refined Sugar Free)

  • 3 cups almond meal (Spoon measured) 
  • 2 level TBS coconut flour
  • 1 cup cacao powder
  • 1/2-3/4 cup coconut palm sugar (depending on how sweet you like them)
  • 2 teaspoons baking soda
  • 1/4 teaspoon salt
  • ½ cup coconut oil, melted (I've also used organic palm shortening with perfect results!)
  • 1 cup coconut milk, full fat
  • 1 small avocado (mine was a very large avocado so I only used half!)
  • 6 tsp egg replacer blended with 6 TBS water in the blender or processor until frothy
  • 2 1/2 teaspoons vanilla extract
  • 2-3 tablespoons raw honey

Preheat oven to 350 degrees. 

In a large bowl mix the almond flour, coconut flour, cocoa powder, palm sugar, baking soda & salt. (Make sure to spoon measure the almond meal! Using a spoon, scoop into measuring cup & level off.) 

In the bowl of a food processor or blender, add the egg replacer and water and process or blend until its thick and frothy. Add coconut oil, coconut milk, avocado, vanilla and honey and pulse or blend until completely smooth. 

With a rubber spatula, gently fold the wet ingredients into the dry just until moistened.  It may seem dry at first, but will become thick and moist as you keep folding in. Put cupcake liners into a muffin tin & use an ice cream scoop filling the liners almost to the top. They cupcakes will puff up a bit. 

Bake at 350 degrees for 17-20 minutes. They should be slightly firm to the touch when finished. 


Allergy Friendly White Frosting

1 1/2 cups Spectrum Organic Shortening
3-4 Tablespoons raw honey 
Stevia (optional if sweeter frosting is desired, or use more honey)
1/2 teaspoon vanilla extract
2 teaspoons arrowroot powder, cornstarch or tapioca starch
pinch of sea salt

Add all ingredients to your kitchen aid mixer and beat on low speed until incorporated and then on high speed for a couple of minutes until frosting is very fluffy and light, scraping down sides of bowl as needed.


Stevia Sweetened Chocolate

3/4 Cups cocoa powder
5 Tablespoons Spectrum Organic Shortening
Liquid Stevia to taste

Melt shortening, stir in liquid stevia, stir in coca powder. If you want it thinner, add more melted shortening in small amounts until it reaches your desired consistency.

Fancy Food Thoughts contains some contextual affiliate links which advertisers have agreed to pay a commission if a purchase is made from that click-through. Everything I recommend are products I use & love!


Friday, April 4, 2014

Easy Egg Salad


Aside from the fact that my middle daughter can't have eggs, they are a staple item for the rest of us! Egg salad is my oldest daughter's favorite food, so I find myself making it quite frequently. Having boiled eggs in the fridge always winds up being a lifesaver for me. My hubby will grab a few to take as a protein packed snack for work, or I'll whip up a quick batch of egg salad for lunch. It's always a great idea at the beginning of the week to boil a dozen! There was a time when I stopped making egg salad because I didn't like any of the mayonnaise that was available. Then I realized that all I had to do was make my own! If there is one thing I've learned over the years it's that there is almost nothing you can't do better yourself.

I found a great recipe for mayo at nom nom paleo. She even has a video! It may seem intimidating, but it's not at all. One of the easiest thing's I've ever made. I personally only had olive oil on hand, and my mayo tasted just like evoo, so I would suggest using avocado oil or something like that.


Easy Egg Salad
  • 4 hard boiled eggs, peeled, rinsed & chopped (How to make perfect hard boiled eggs
  • 1/2-1 teaspoon yellow mustard (make sure there is not any additives or sugar!) 
  • 2-3 Tablespoons homemade mayo
  • 1 green onion, finely chopped
  • salt and pepper to taste

Mix all ingredients in a medium size bowl, slightly mashing with a fork. Salt & pepper to taste and serve on your favorite sprouted or gluten free bread or over a fresh salad!


Fancy Food Thoughts contains some contextual affiliate links which advertisers have agreed to pay a commission if a purchase is made from that click-through. Everything I recommend are products I use & love!

Crock Pot Roasted Chicken

I guess I've been using my crock pot a lot this past week since I just posted back to back recipes involving my 3rd favorite kitchen appliance. If you're wondering what my 1st and 2nd favorites are, that would be the dishwasher (of course!) and my kitchen aid mixer (in pistachio.) The only reason the dishwasher beats the kitchen aid mixer is because of function over fashion. Anywho, the crock pot is an absolute lifesaver. If you don't have one, you don't know what you're missing.

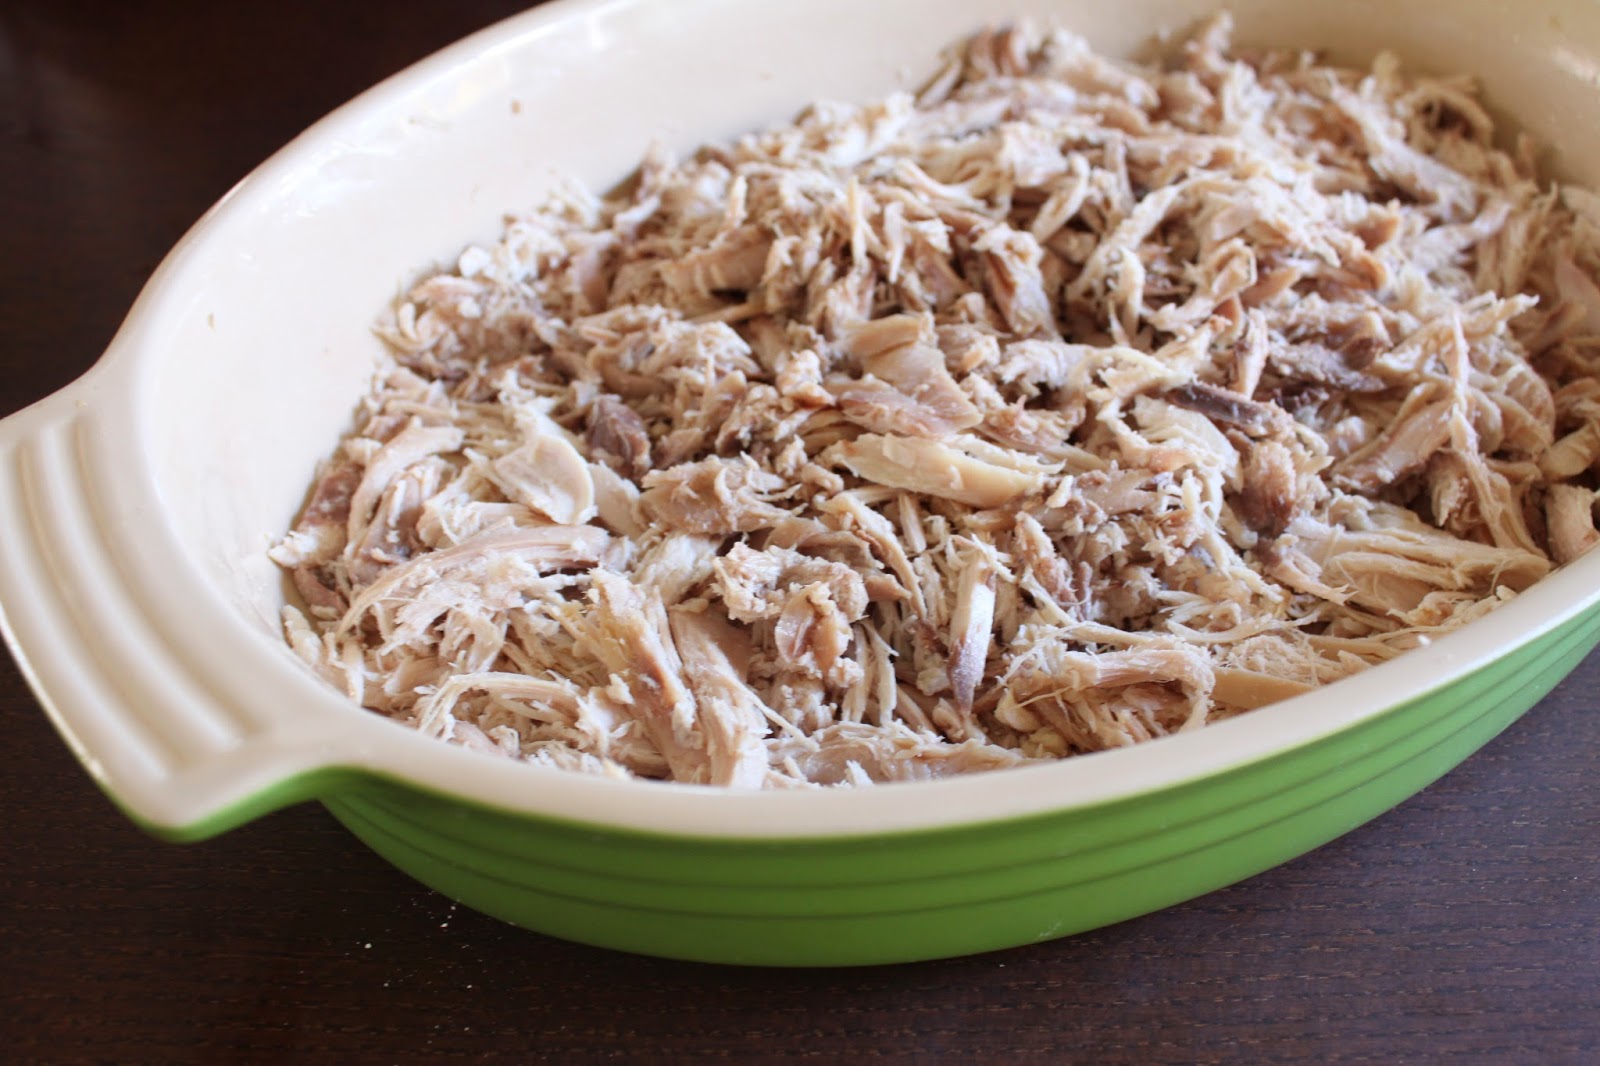
I have people tell me all the time they never make whole chickens because it's intimidating. Making a whole chicken is not only delicious, but it's easy as pie! Actually, MUCH easier than pie. It's also very affordable and practical since you can use the chicken broth for soups or in any recipe that calls for it. I make a whole chicken once a week and it's a family favorite! Tonight we ate it shredded in tacos. Yum.


Crock Pot Roasted Chicken

  • 1 whole chicken (make sure to remove the bag of "extras" from the inside cavity)
  • 8 cups of filtered water
  • 2 carrots, roughly chopped
  • 2 celery stalks, roughly chopped
  • 1 bay leaf 
  • 1 teaspoon salt


First thing you'll want to do is remove the bag of innards from the inside cavity of the chicken. Save them for later if you enjoy chicken liver, or toss them out if you can't even imagine eating it. That's ok. Give your chicken a quick rinse and then place it into the crock pot.  Add your veggies, bay leaf, salt and water. Put the crock pot on low for 8 hours.

That's it! Told you it was simple. Once the chicken is finished, remove it from the crock pot and use it however you like! Remember to strain the chicken stock from your pot (toss the veggies & bay leaf) and put it in the refrigerator for using later.


Fancy Food Thoughts contains some contextual affiliate links which advertisers have agreed to pay a commission if a purchase is made from that click-through. Everything I recommend are products I use & love!

Crock Pot White Beans

The crock pot is one of my favorite inventions of all times. What could be easier than putting ingredients into it, turning it on and walking away? I've never used mine so much as I have since the birth of my third child. It just makes my life easier. Once you figure out how simple it is to cook beans in it, you'll never buy canned again. If you're wondering why we eat navy beans as opposed to pinto, maybe you want to check out this article to see the full spectrum of health benefits and nutritional information! Beyond the fact that they are packed full of fiber and protein, they are also extremely tasty.


Crock Pot White Beans

  • 1 pound navy beans, rinsed and sorted
  • 9 cups homemade chicken stock (or water)
  • 2-3 cloves garlic, minced
  • 1 teaspoon salt
Place all ingredients into your crock pot, put the lid on and cook on low for 8 hours. If you need them done sooner, cook on high for 2 hours and then switch to low for at least 2-3. I usually put them on in the morning and let them cook all day. Sometimes I even turn them on at night before bed so we have them the next day for lunch. Enjoy!

                                   
Fancy Food Thoughts contains some contextual affiliate links which advertisers have agreed to pay a commission if a purchase is made from that click-through. Everything I recommend are products I use & love!

Thursday, April 3, 2014

Sweet + Salty Cinnamon "Kettle Corn" (No Sugar!)

I love sweets. You maybe already know this about me. Some people like their popcorn extra salty, I prefer to have the sweeter version. Since my sugar intake is close to nil these days, I'm looking for alternatives to some of my favorites. This cinnamon "kettle corn" is sweet, salty and delicious without one single bit of sugar! It takes about 10 minutes total to make and is such a great afternoon treat. The kiddos definitely approve.


Sweet + Salty Cinnamon "Kettle Corn"


  • 1/2 cup popcorn kernels 
  • 4 Tablespoon + 1 Tablespoon Coconut oil
  • 2 teaspoons cinnamon
  • 1/4 - 1/2 teaspoon salt 
  • 15-20 drops liquid stevia 

In a small bowl melt 4 Tablespoons coconut oil. Once melted, add liquid stevia and stir.

In a large pot with lid, melt 1 Tablespoon coconut oil on medium to medium high heat. Add popcorn kernels and place a lid on the pot. Once the popping starts, shake the kernels pretty constantly so they don't burn.  When the popping slows down or finishes, remove from heat. Drizzle coconut oil + stevia mix onto popcorn and mix. Add cinnamon and salt and stir until it's completely coating popcorn. Enjoy!


Fancy Food Thoughts contains some contextual affiliate links which advertisers have agreed to pay a commission if a purchase is made from that click-through. Everything I recommend are products I use & love!

Easy Minestrone Soup - (Gluten Free/Vegan)

I very much enjoy a good minestrone soup. This is a really simple recipe, and it's the perfect meal to make a day in advance for the next evenings meal. An added bonus is that it tastes even better the next day! There is no meat, so it's extremely budget friendly, but still very filling because of all the hearty veggies and mung beans.


Easy Minestrone Soup

  • 1-2 Tablespoons coconut oil or olive oil
  • 1 small yellow onion, chopped
  • 4 cloves garlic, chopped
  • 1 pound carrots
  • 2 medium yellow squash
  • 2 medium zucchini squash 
  • 1 15 oz can crushed tomatoes (I've used fire roasted & regular!) 
  • 1 pound frozen green beans
  • 8 cups vegetable stock (or chicken stock!) 
  • 1 cup mung beans or green lentils (soaked overnight!) 
  • Salt and pepper to taste
*Make sure you soak your lentils or mung beans overnight prior to making soup. If you forget, you can do a quick soak by washing your beans or lentils, bringing them to a boil in a medium saucepan and then reducing heat and simmering on low for 15 minutes. They will cook a few minutes longer once you add them to the soup, so don't worry if they're not completely soft after the quick soak.

Heat oil on medium heat in a large stockpot. Add chopped onion, garlic, salt and pepper and cook for 7-8 minutes until onions are softened and garlic is browning. Add chopped carrots and cook a couple minutes more. Add vegetable or chicken stock, crushed tomates, zucchini, yellow squash and frozen green beans and simmer on medium low until veggies are tender. Once soup is almost done, add lentils or mung beans, cooking just a few minutes more until lentils/beans are soft. Add more salt and pepper as needed, serve & enjoy. 


Fancy Food Thoughts contains some contextual affiliate links which advertisers have agreed to pay a commission if a purchase is made from that click-through. Everything I recommend are products I use & love!